
M O D I F I C A T I O N S : EXTERIOR, Smith & Deakin spoiler
FITTING THE SPOILER/SPLITTER TOGETHER WITH THE OTHER ONE FROM KRAFTHAUS.
Well it could be ironic, but I started this project during the week of carnival and in a small town in Belgium which is well-known for its complete madness about carnival, Aalst.... it could have worked as a source of inspiration... or is it just me trying to do something different.
Stage 1: Checking if the Smith and Deakin spoiler fits this time.... and no, I am not think about some Viper-stripes, it's just some adhesive tape to leave the spoiler in its position without drilling. No need to say that the Krafthaus splitter is allready removed.
And Yes, it's an almost perfect fit. Just a bit disappointed about the parts that come into the wheelarches. There's still a minor gap between the wheelarch and the spoiler.

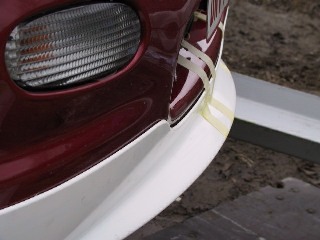
It's also clear that we will need some glue or double-sided adhesive tape to get a perfect fit.
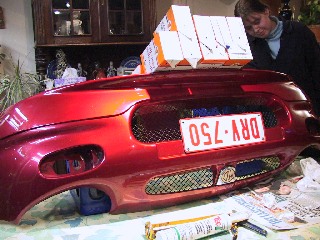
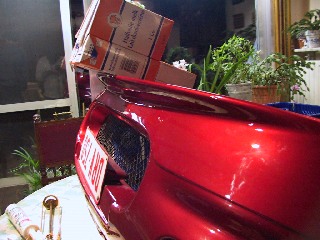
Stage 2: OK, time to remove it again and bring it to someone who can paint it in some nice Nightfre Red. (€ 110, mail me for details)
Hint: If I needed to start from the beginning again, I would prefer to fit/attach the spoiler, and have a full repaint of spoiler and front bumper. It will cover to numerous stone chips, make a perfect color match possible and would minimalise the small opening between spoiler/splitter and bumper.
Stage
3: Attaching the spoiler:
In the evening I glued the spoiler to the bumper (which was removed from the
car) using Tec7 from Novatech NV. This is a strong product with the look and
handling of silicons, but with some additional adhesive power. Used some tools
and some weight to keep everything in place.
The next morning, after removing the weight, I drilled the four wholes at the base/bottom of the spoiler. Inserted the four bolts and secured them. Didn't want to risk attaching bolts at the side (although there are 2 x 2 markings), cause there's still a !small! gap.
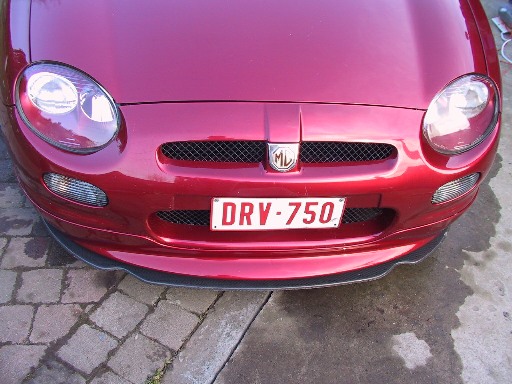
Stage 4: Now it's time to fit the KH Assemblies splitter again.
Herefor I used a set of rubber bushes which will keep the distance between splitter and spoiler at the sides (estimation: 1.2cm).
In the middle, the splitter can not be safely screwed together with the bumper, 'cause the spoiler keeps an opening between spoiler and bumper (where the weight is positioned in previous pictures). So I used a glue gun to bring an amount of hot glue between spoiler and bumper, using the previously drilled holes (which were used for the splitter in earlier days). After the glue dried and became strong, I driilled the two holes again and attached (here without bushes) the splitter again.
Note: The bolts which came with the KH-splitter need to be replaced by a set of larger ones. The bolts I used for attaching the spoiler were special ones, which become flat with the surface (picture will follow, to make it clear).
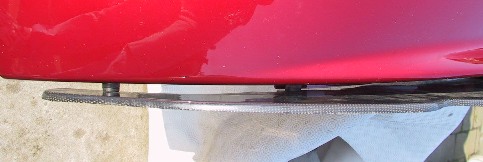
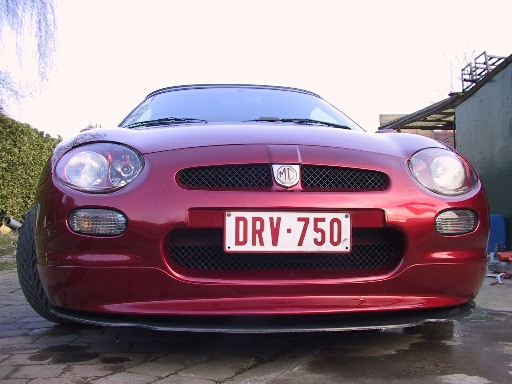
Stage 5: Fitting the bumper and admiring the result.
The result seen on a rather extremely low car (with inner tyre wear)
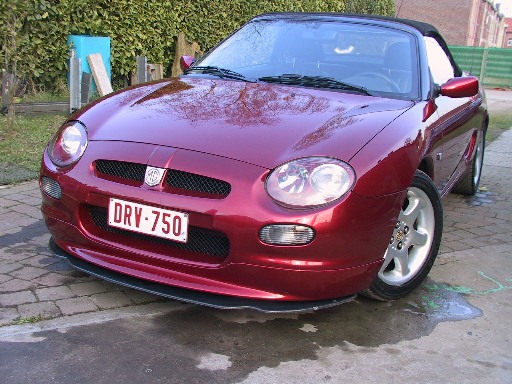
Thanks to all the people who made this change possible.